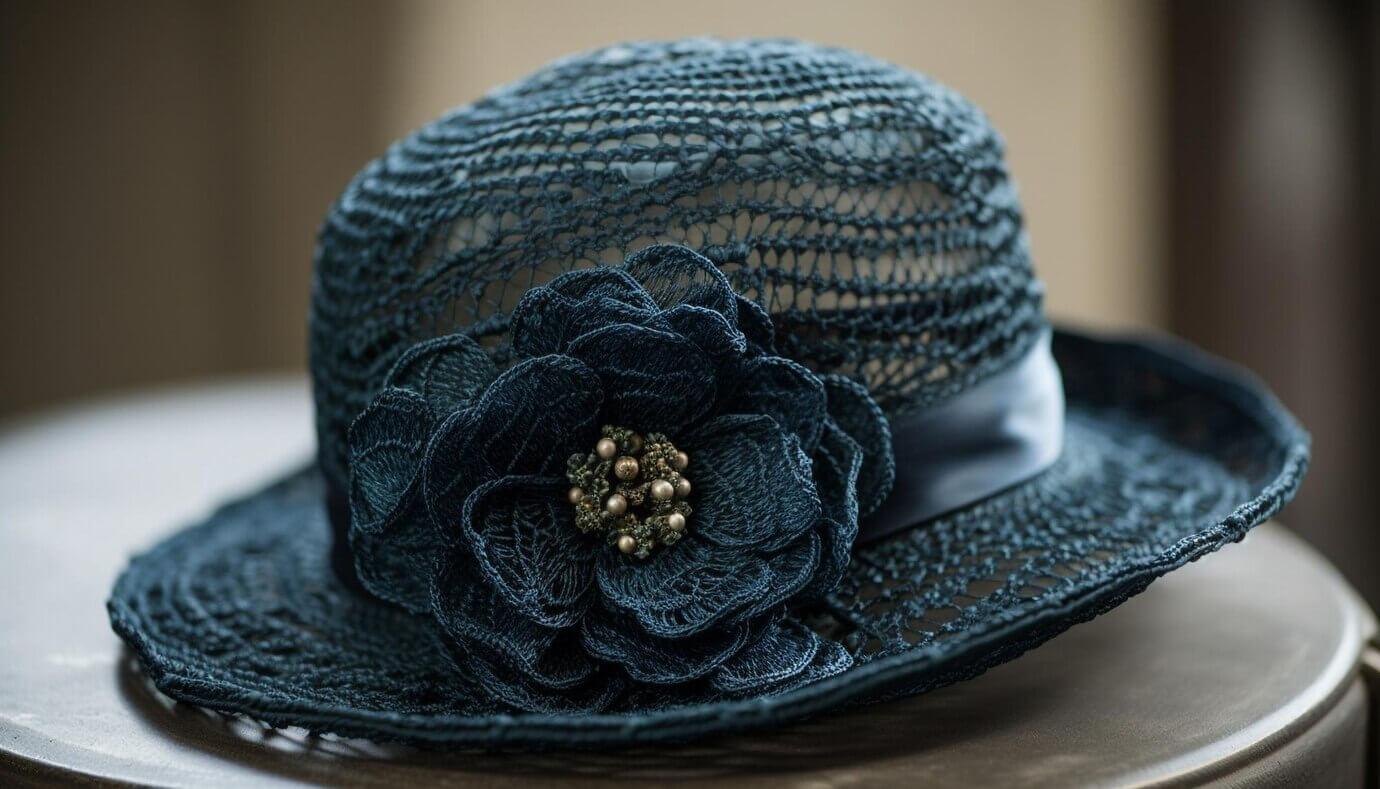
Fascinator hats have long been a symbol of elegance and style, gracing the heads of fashionable individuals at weddings, horse races, and other formal events. The best part? You can make your own fascinator hat that reflects your unique taste and style. In this step-by-step guide, we’ll walk you through the process of creating a gorgeous fascinator hat that will undoubtedly turn heads.
Materials You’ll Need:
- Fascinator Base: Choose a base for your fascinator hat, which can be a pre-made base or a plain headband.
- Fabric: Select a fabric that matches your outfit or theme. Silk, satin, lace, and feathers are popular choices.
- Feathers: Opt for feathers that complement your fabric. You can find them in craft stores or order online.
- Flowers or Embellishments: Small artificial flowers, beads, rhinestones, or other decorative elements.
- Adhesive: Use a hot glue gun or fabric glue to attach the components securely.
- Scissors: Sharp scissors for cutting fabric and feathers.
- Headband or Hair Clip: A headband if you want to wear it on your head, or a hair clip for attaching it to your hair.
Step 1: Design Your Fascinator
Before you start crafting, sketch your fascinator design on paper. Consider the size, shape, and color scheme you want. This will serve as your blueprint for the project.
Step 2: Prepare the Fascinator Base
If you’re using a pre-made fascinator base, skip to Step 3. Otherwise, if you’re using a plain headband, you can cover it with fabric that matches your design. Measure the fabric to fit around the headband and secure it with adhesive.
Step 3: Cut the Fabric and Feathers
Cut the fabric into the desired shape and size for your fascinator. This will be the top layer of your hat. Cut the feathers to the desired length, ensuring they complement your fabric.
Step 4: Attach the Fabric
Using your adhesive, carefully attach the fabric to the fascinator base. Ensure it’s smooth and wrinkle-free. Let it dry completely before proceeding.
Step 5: Arrange the Feathers
Arrange the feathers on top of the fabric in a pleasing pattern. You can create a fan shape, a cluster, or any design you prefer. Experiment until you achieve the desired look.
Step 6: Add Embellishments
Enhance your fascinator hat with small artificial flowers, beads, rhinestones, or other decorative elements. Use adhesive to attach them securely to the fabric and feathers.
Step 7: Attach the Headband or Hair Clip
If you’re using a headband, securely attach it to the bottom of the fascinator base. If you prefer a hair clip, attach it to the back of the base. Make sure it’s stable and won’t come loose.
Step 8: Final Touches
Inspect your fascinator hat for any loose elements or imperfections. Make any necessary adjustments and allow it to dry completely.
Step 9: Wear Your Fascinator with Pride
Your DIY fascinator hat is now ready to be worn with pride at weddings, parties, or any special occasion. Simply secure it to your head or hair, and you’re all set to make a stunning fashion statement.
Conclusion: Elegance Crafted by You
Creating your fascinator hat allows you to express your creativity and fashion sense while adding a touch of elegance to your attire. Whether you choose to make a fascinator for yourself or as a thoughtful gift, the process is both enjoyable and rewarding. So, grab your materials, follow these steps, and craft a fascinator hat that showcases your unique style and flair for fashion.

